I have to admit it, I love old frames. In fact, I may be a frame or two short of being a frame hoarder. I pick up frames whenever I see them for cheap. When I say cheap, I mean I typically do not spend more that $5.00 on a frame.
With my project today, I used a $1.00 frame that I found at my local Habitat for Humanity Restore. This frame was void the glass but, for the project I had in mind, it didn't really matter.
All I needed to get started with my project were a few other supplies.
- Scrap wood cut in slats to fill my frame.
- Wood Glue or Tacks to secure.
- DIY Paint, we used White Swan.
- Chalk Couture Transfer of your choice. We used the "Love Never Ends" transfer.
- Chalk Couture Chalkology Paste.
- Paint Pixie Paint Brush and a small chip brush.
- Clear Coat Spray
- A knob of your choice. We used these knobs and painted it to suit.
- Small wreath of your choice.
The first thing I did was insert the wood scraps into my frame and in my case, I glued them down however you could tack them into place with pin nails.
It will look something like this when you have secured the wood into place.

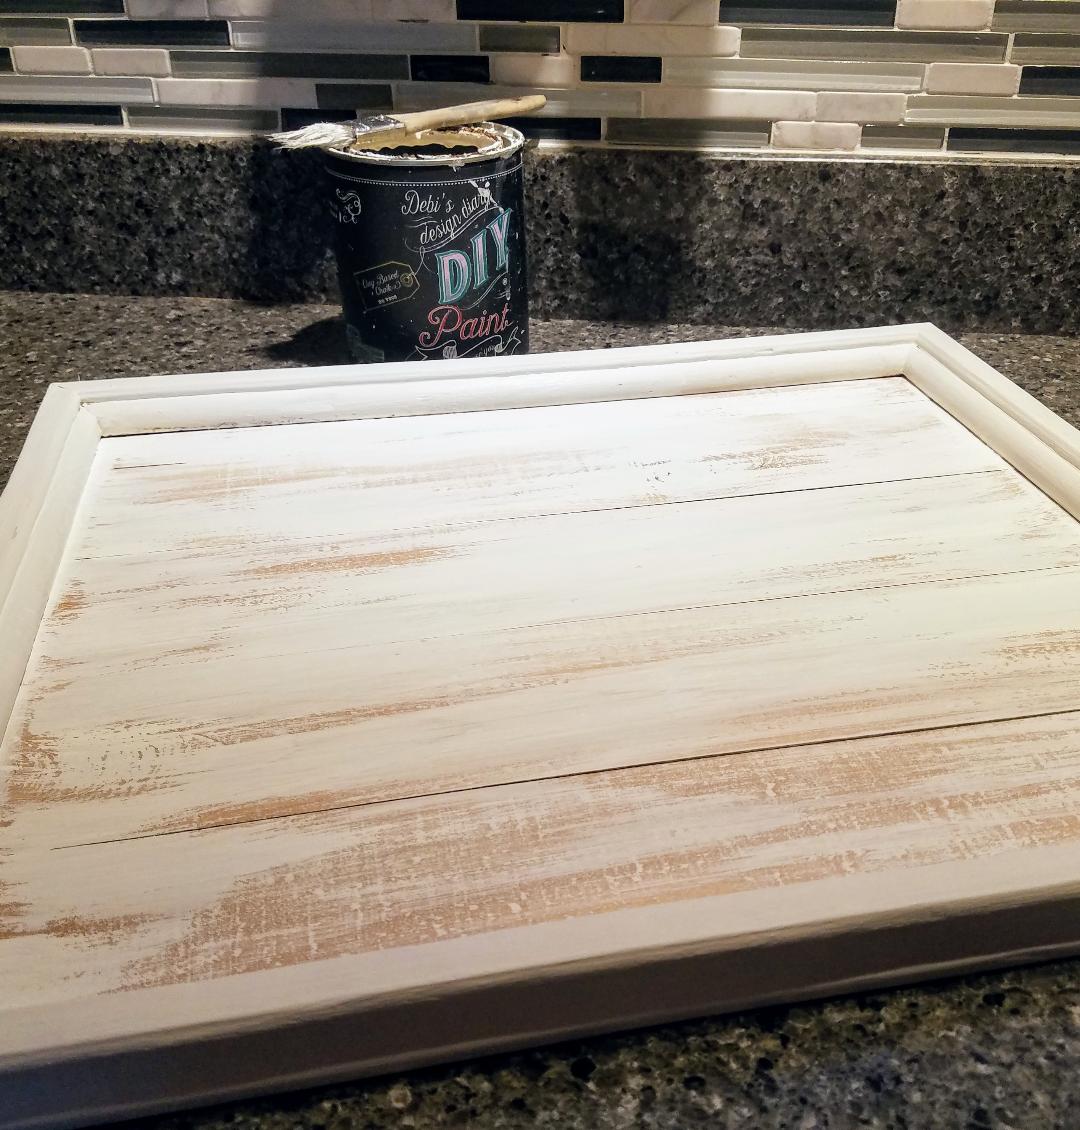
Next I got out my DIY Paint and my Paint Pixie Paintbrush. I love using White Swan but you could use any DIY paint color. The DIY paints are highly pigmented so oftentimes, one coat is all you need.
Using the Paint Pixie French Round paint brush and a small chip brush, I painted the frame and lightly coated the wood center. I wanted some of the wood to peek through the white paint to give it a worn kind of look.
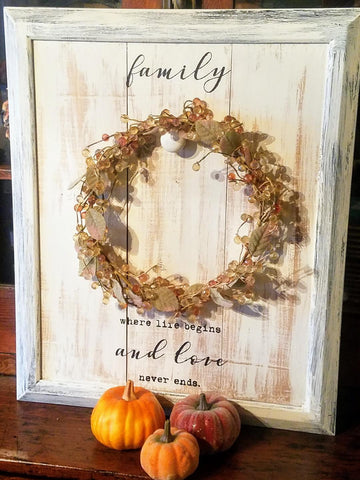
Once my paint was good and dry, it was time to add the words. This is the easy part when you use Chalk Couture Transfers. You can make this sign in less than a couple of minutes. I used the "Love Never Ends" transfer. I just laid the transfer down onto my wooden surface. I carefully spaced out my transfer as I needed to leave room to add the knob and my little wreath. The transfer has an adhesive backing so it seals perfectly to the surface so that there will not be any "bleed through". We want our sign to have crisp edges. Using a rubber squeegee, I smooth the chalk paste directly over the transfer careful to fill in any open areas. Next, I carefully pull up the transfer and voila, a sign is born!
Let the sign dry and then seal with a spray top coat.
The final step is to add your knob and hang your little wreath. The thing I love about this is that you can seasonally change out your little wreath making this sign so versatile and have year round interest.
This little project is really easy and you can make a gift for less than $5.00. Who doesn't love that?
Still have questions? Watch the video tutorial here.
Leave a comment