I love getting ready for Spring. Once March hits, I am itching for warmer weather. Spring decorating always makes me feel like colder weather is behind us.
Well, I am ready for Spring decorating. That's why I was so excited to find a few packs of the Dollar Tree wooden Easter eggs. These eggs come in a 5 pack so that's pretty cheap. It looks like these were made to be little ornaments but, I've got other plans for them. I plan on making some sweet little wooden Easter chicks.
Here's what I used to make my wooden chicks.
Supplies:
Dollar Tree Wooden egg cut-outs
Small wooden stand
Orange felt
Feathers
Ribbon
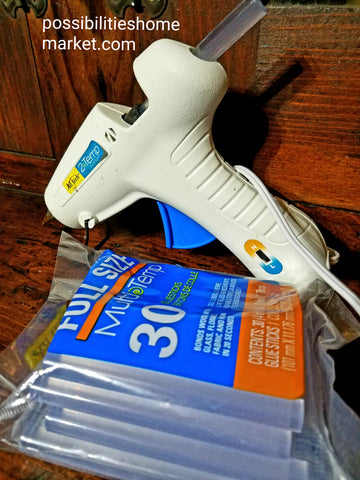
Hot Glue and glue gun
Paint - I used Cake Batter and Summer Crush
Before I got started with my project, I asked Mr. Possibilities to cut me a little base for my Dollar Tree wooden eggs.
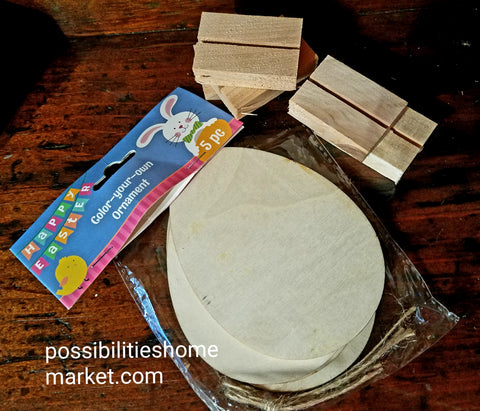
Now that I had everything I needed, I began my project by painting the Dollar Tree eggs yellow.
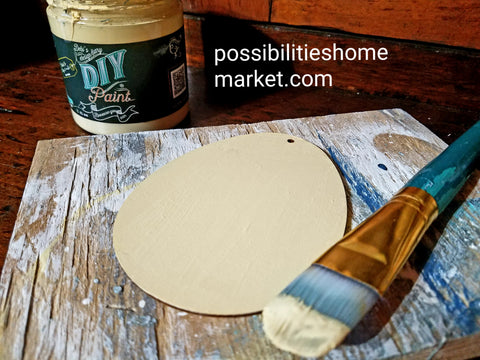
While the eggs were drying, I grabbed some DIY paint in Summer Crush. I painted the wooden base orange.
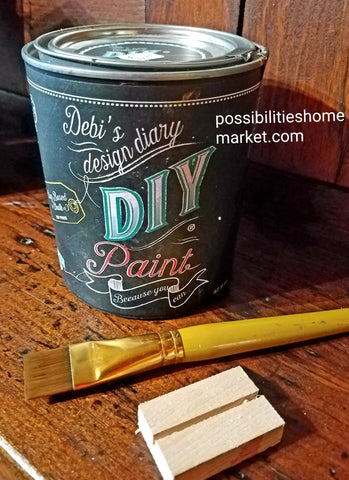
Once the wooden egg and egg base are dry, I painted 2 little eyes on my chick.
Next, I grabbed some orange felt and cut out a nose and 2 little feet. The more whimsical the better. This does not have to be perfect!
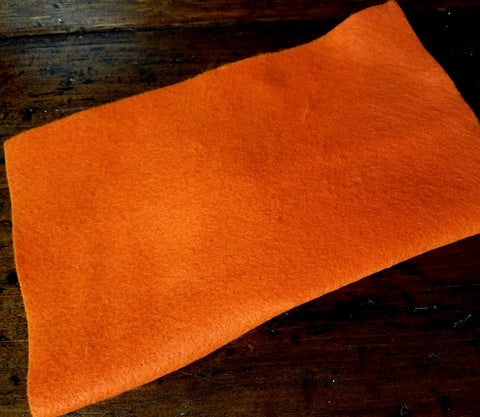
Then I grabbed the hot glue gun and glued on the nose and feet.
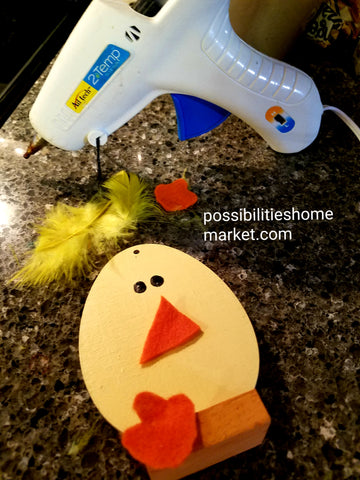
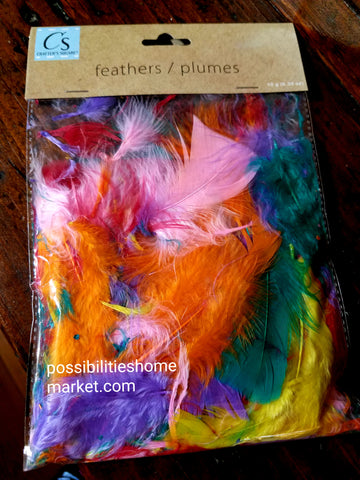
My chick needed some hair. I picked up an assorted bag of feathers at the Dollar Tree. I grabbed the yellow feathers and glued them to the top of my chicks head.
Now all that is needed is a little bow. You can make the bow from any kind of ribbon you have on hand. I had some buffalo check ribbon so I used that for the bow. Glue it to the top. This will give your chick a finished look and it will cover up the hole that was on the top of the wooden egg.
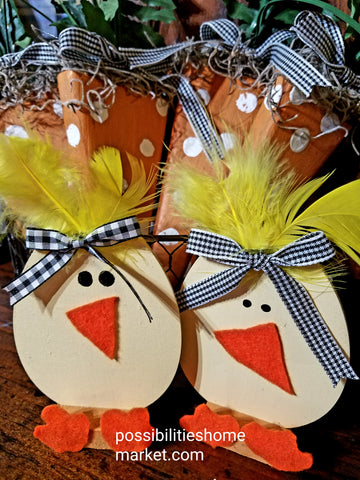
And there you have it! Look at how adorable these little chicks turned out! This project is super easy and it is a kid friendly Easter craft to boot.
Check out our video for the full tutorial.
Make your own chick using DIY Paint products!
Leave a comment