Can you believe I pre-planned for Christmas? I can hardly believe it myself! I'm a chronic procrastinator and typically late for everything. I decided this year was going to be different. Way back in January, I put a Christmas start date on my calendar and I actually began pre-planning early. I had so many ideas that I wanted to share but only so much time to execute all of the ideas.
I knew I wanted to host a 12 Days of Christmas event and I wanted to include some of my DIY Paint friends. I made so many connections at Boot Camp this year and now was the time to make good use of those connections. One by one I reached out to the ladies that I met and invited them to be part of my 12 Days of Christmas. My vision was to host a different holiday project each evening.
Today's blog post is about Day 1 of my 12 Days of Christmas event.
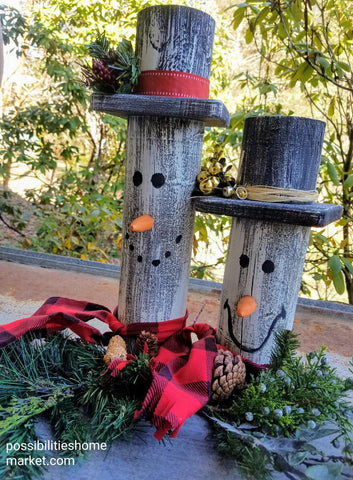
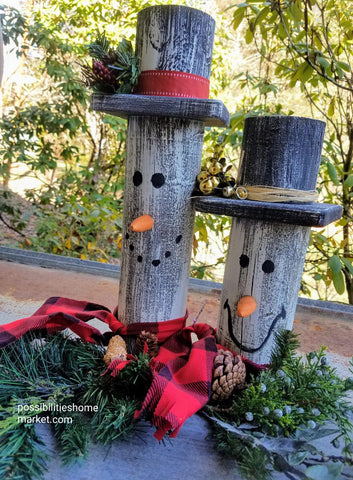
On the first day of Christmas I was fortunate to have my friend Carolyn Larson from La Tea Da's in Bullhead City, AZ join me. Carolyn had recently hosted a make and take at her shop where they made these adorable snowman buddies. She agreed to share the project with me.
Here is the supply list if you choose to make this easy snowman craft project.
2) DIY Paint in the following colors. White Swan, Little Black Dress and Summer Crush.
3) Paint Pixie Paint Brush.
4) Accessory items of your choice.
Each snowman consists of 3 parts. The top of the hat, the brim, and the body. The first thing you need to do is to cut your fence posts for the top of the hat and for the body. You will need a 12" piece and an 8" piece of fence post. If you don't have a saw, they can cut this for you at Home Depot.
Next you will need to cut a square piece to use for your hat brim. This piece should be 5 1/2" square.
You will be drilling a hole in the fence posts and the brim and using dowel rods to fasten everything together. Be sure to number your pieces so that they fit properly.

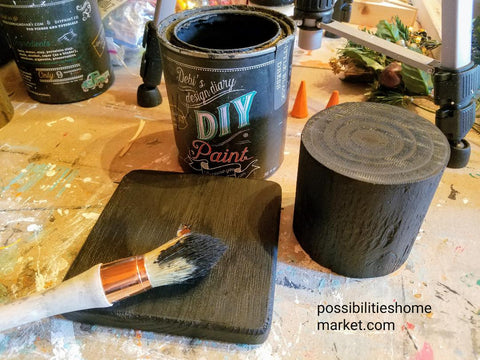
Now that your pieces have been cut out, you will want to get started painting. I pulled out my Paint Pixie French Tip Paint Brush. This brush is great for small projects.
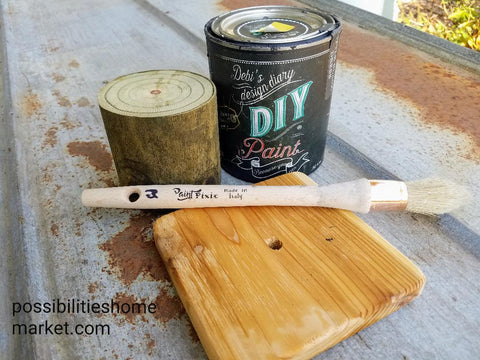
I decided to go with Debi's Design Diary DIY Paint in Little Black Dress. This clay based paint is highly pigmented and I love that it has no VOC's so it has no nasty odors and I can paint indoors with no problems. I painted the brim and the hat top using the rich black paint.
For my snowman bodies, I used Debi's Design Diary DIY Paint in White Swan. I used a chip brush to lightly brush the body. You just need a little paint. Lightly drag the brush over the fence post being sure that you let the wood finish come through. Also dry brush a little White Swan over the black top hat to give the hat a snowy appearance. Easy peasy!
Take a little of the Little Black Dress paint and give your snowman some personality with a cute set of eyes and a simple little mouth. You will also want to add a button nose. I used some scrap wood that Mr. Possibilities shaped into a triangle.
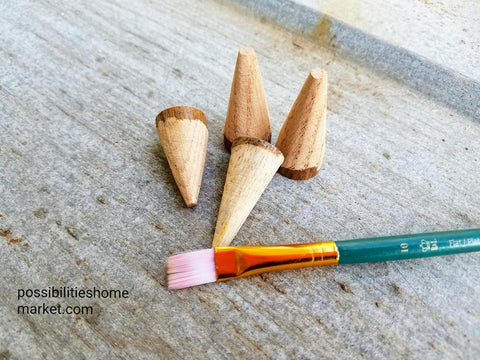
These can be painted using DIY Paint in Summer Crush or any orange color paint you might have on hand. Just glue the noses onto the fence post.
Now all you have to do is squeeze the wood glue into the body hole and insert the dowel into the body. Layer on the hat brim and then squeeze some more glue into the hole in the top hat and push your snowman buddy together. It's really that simple.
Finally, the fun part. You can choose to embellish your snowman with anything you have on hand. I used scrap ribbon, some greenery, raffia, little bells, and a piece of torn fabric for his scarf. It is really an easy snowman project and an fun Christmas craft.
Still have questions? If you want to catch the full tutorial, just watch our Facebook live tutorial.
Leave a comment