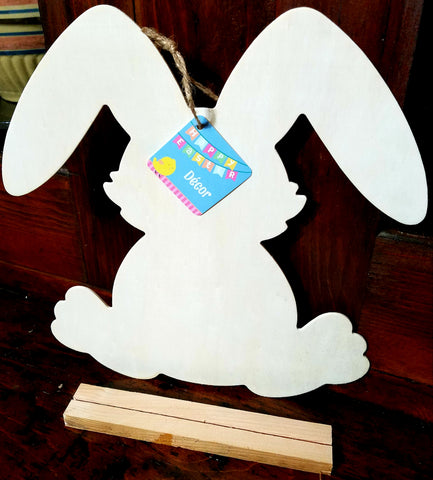
Believe it or not, I found some of those wooden bunny cut-outs at the Dollar Tree. Most of the time, I seem to miss all of the good stuff but not today. I went ahead and grabbed a couple of them. I had a specific project in mind and I knew if I had an extra bunny or two it would be a fun project for me and my granddaughter.
Here are the supplies needed for this Dollar Tree Easter bunny craft project.
- Wooden Bunny Cut-out
- Scrapbook paper
- Scrap Burlap
- Scrap Muslin
- Mod Podge or DIY Liquid Patina
- Paint Pixie Paint brush
- DIY Paint
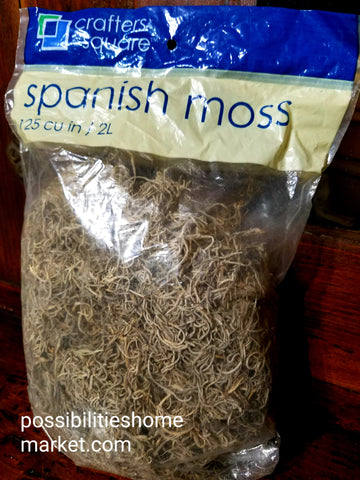
- Spanish Moss
- Chalk Couture stencil
- Squeegee
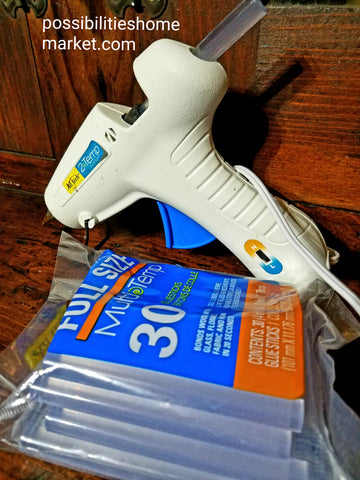
- Hot glue gun and glue
- Spanish Moss
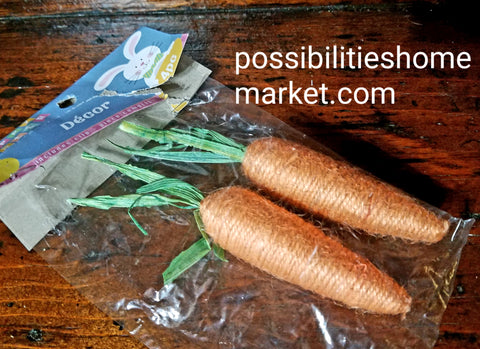
- Faux Carrots
- Ribbon
Since I didn't want to hang my bunny, I had Mr. Possibilities cut me a small wooden stand that I could use so that I could make my bunny sit upright on a table. I painted the little base with DIY Paint.
I wanted my bunny to have a farmhouse feel and I remembered that I had some leftover buffalo check scrapbook paper that I had scored at Christmas time. Now was as good a time as any to pull it out from my craft stash.
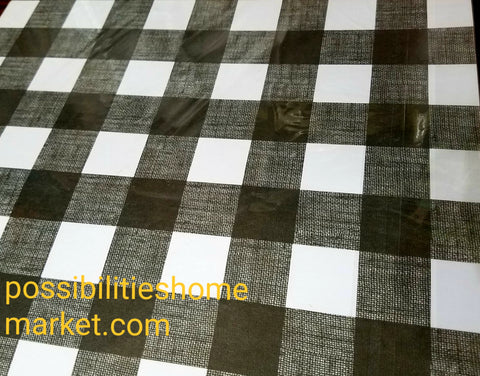
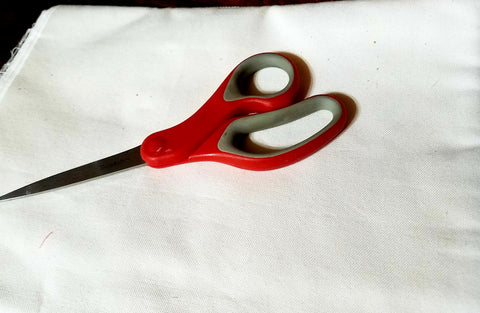
I turned the scrapbook paper face down and traced my bunny on the back side of the paper. Next, I cut out my bunny so that I could attach it to the Dollar Tree Bunny wood cut-out.
Next I pulled out some Mod Podge but you could also use DIY Liquid Patina. I applied it generously over the entire surface of one side of the bunny. I let that dry.
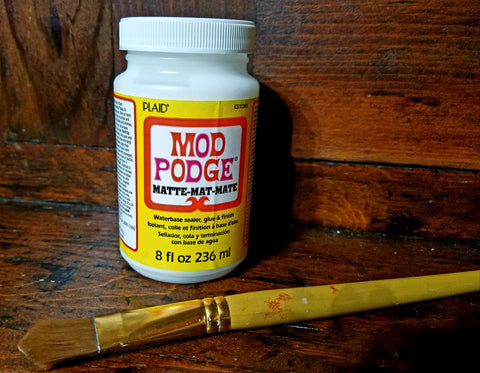
Once the Mod Podge was completely dry, I grab my iron and some wax paper. I heated the iron and then laid the buffalo check bunny paper over the wooden cut-out front side up. I laid the wax paper on top of the scrapbook paper and began to iron over the wax paper. The wax paper serves as a protector to the scrapbook paper so that you do not scorch it. The hot iron reactivates the decoupage medium and easily attaches the scrapbook paper to the wooden bunny without any bubbles.
Now that my paper was attached to the bunny, I wanted to add some finishing details. I cut a scrap piece of burlap to fit the front of the bunny and to make a little pouch for the bunny.
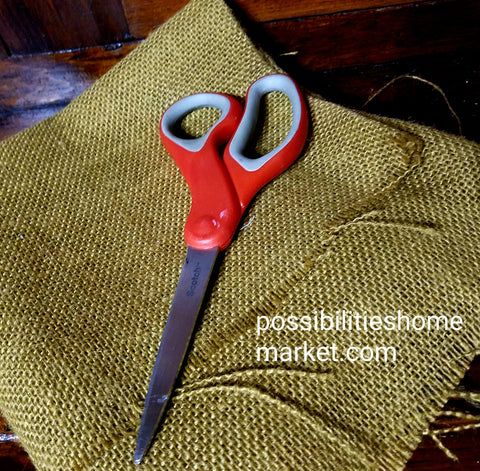
You can fold over the raw edges and glue the seam down with a little hot glue.
Cut a piece of muslin that is smaller than the burlap. You will be glueing this piece to the front of the burlap.
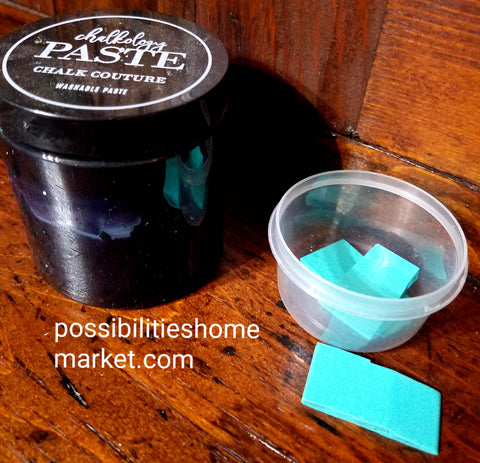
Before you glue it to the burlap, grab some Chalk Couture. You can add a cute little stencil to the muslin using one of their transfers.
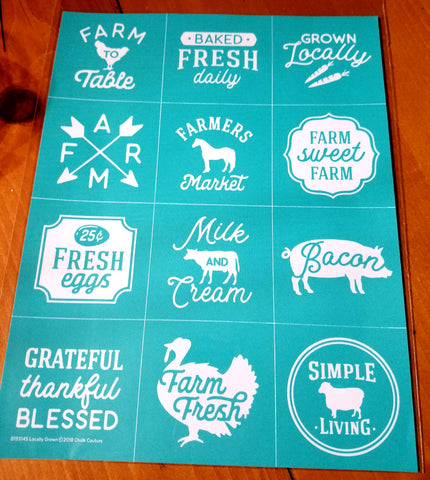
All you have to do is lay down the self adhesive transfer onto the fabric and squeegee the chalk or ink over the fabric through the silkscreen stencil.
Glue the muslin to the burlap and then glue the burlap pocket to the front of the bunny.
Fill the burlap pocket with some spanish moss leaving a little room to add some carrots.
Next, stuff a few carrots down inside the burlap pocket. I found my carrots at the Dollar Tree. They came in a four pack.
Now all you have to do is add a little bow to your bunny. I found some ribbon in my craft supplies. I used a small piece of white, a scrap of burlap and a few pieces of buffalo check ribbon. I just cut them in graduated lengths, laid them on top of each other and used a piece of jute twine to tie them all together. Once I had the bow, I used the jute twine to tie the bow to the bunny and SNAP, our Dollar Tree Easter Bunny craft was complete.
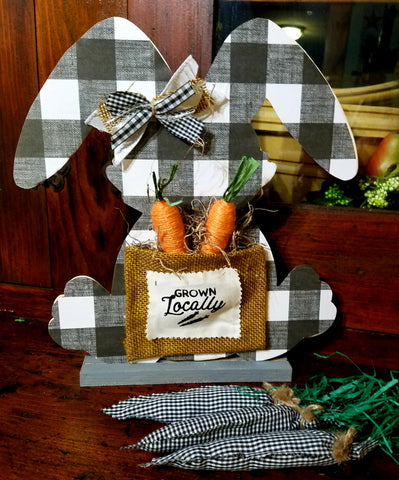
So, what do you think of my Dollar Tree bunny craft? I think it's adorable. If you want to make one, watch the full video for all the details!
Don't have time to make your own? Shop our homemade items in our store.
Leave a comment