I don't know about you but, I am always looking for quick and easy gifts ideas. You know, things that I can whip up really quickly with things that I have on hand. Recently my friend Carolyn showed me how to make the cutest little picture holder or memo holder. She showed me how to decoupage with DIY Chalk Paint and Liquid Patina. This project was totally up my alley as I had most of the items on hand. I love a good DIY project and this one really fit the bill.
Follow along and I'll tell you how to decoupage. It's really simple and the results are amazing! To tell you the truth, Carolyn was going to join me on my Facebook page to demonstrate the whole technique. We planned our little tutorial for the Make it on Monday Facebook event series that I've been trying to get off the ground on my Facebook page. As it turns out, I had a terrible time getting Carolyn onto the live video. Who knows what happened but, we could hear Carolyn but we just couldn't see her. Instead, Carolyn had to direct me as I worked on the project solo. If you'd like to see the video, check it out here.
First off, let me share the supply list.
Now onto the nitty gritty of the decoupage tutorial.
1) Find your surface. A piece of scrap wood, old fencing, pallet wood. Any of these will work.
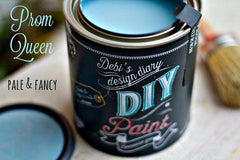
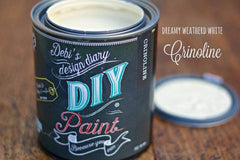
2) Depending on how you want the finished product, you may choose to stain the wood or to paint it out. I elected to paint my surface. I used a chip brush and DIY Chalk Paint in Prom Queen and I also used Crinoline. You could also use a Paint Pixie Paint Brush.
3) Let the paint dry thoroughly but, it won't take long since the DIY paint dries really quickly due to it clay based properties.
4) Once dry, you are ready to add your napkin. Separate your napkin. Look to see if your patterned napkin is 2 ply or 3 ply. Peel back the layers. You only want to work with the 1 ply where the pattern is located. Trim away any excess napkin if you have too much. You don't have to be super perfect. We'll be cleaning it up later.
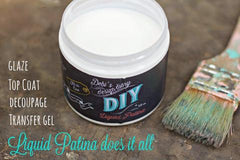
5) Using a chip brush, apply DIY Liquid Patina liberally to your surface. Carefully line up your napkin and the pattern on your surface so that you like how the design will be mounted. Gently lay the napkin onto your surface and smooth the napkin out from the center outwards. Be gentle so that you do not rip the napkin. You may have some crinkles but, that's okay, it part of the imperfect beauty.
6) Let the decoupaged surface dry.
7) Once dry, take your sanding block and sand around the edges. The sanding block will clean up any stray napkin selvage and will leave you with a nice smooth edge.
8) Apply another coat of the DIY Liquid Patina. This coat will act as your sealer.
9) Now all that's left if to add your clothespin. You may choose to paint or stain the clothespin. Totally your choice. Once you've got the clothespin ready, affix it to the surface with E-6000 or another type of glue.
There you have it! A simple way to turn some everyday items into a cute gift. Once you've mastered the technique on something small like this, be sure to think bigger. Think about decoupaging some drawer fronts on a chest of drawers or even the back of a china cupboard. Really there are endless possibilities for using decoupage.
Leave a comment