Life is filled with simple pleasures. One of my simple pleasures is finding scraps or discarded items and turning them into something decorative or functional. That's exactly what I did with this leftover MDF that was in the scrap pile in my hubby's garage.
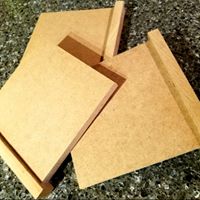
I had Mr. Possibilities cut me four 6" x 6" squares out of the scrap. I also asked him to cut me four little bases so that I could make four free standing signs.
With Easter right around the corner and an upcoming craft show, I knew I could turn these into a simple Easter bunny sign.
The first step was to paint over the MDF. I actually enjoy painting MDF like this. It covers really well! On the other hand, I don't really enjoy painting furniture made from MDF but, that's a whole other topic. Anyway, back to the project.
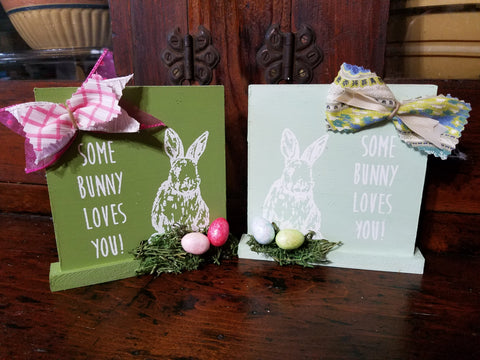
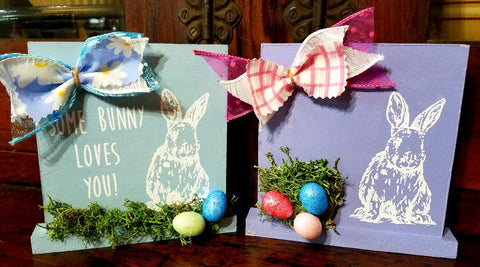
I wanted a variety of colors for my little Easter signs. I selected a light purple, a light blue, a light green and an apple green. My favorite was the Mint Chip color by DIY Paint. The name really fits and I love that it is all natural and contains no harmful VOC's.
After my paint was finished drying, I added a little bunny using a stencil that I picked up at the craft store. Once that was dry, I waxed the whole sign using some clear wax.
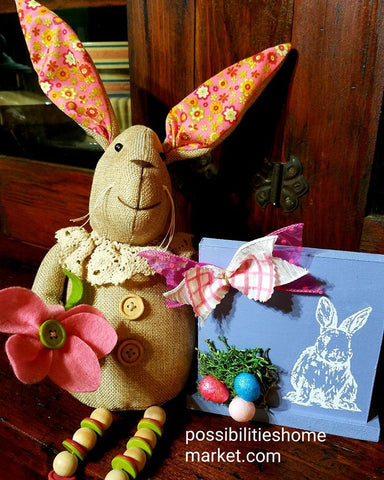
Now I finished off my little project with a few embellishments. I used my hot glue gun to add a simple little bow, some reindeer moss and a few little Easter eggs that I picked up at the Dollar Tree.
I love how my little project turned out! I was able to make four little signs all from scrap materials!
Leave a comment