Did you know that colored wax was a thing? Well, it is. Typically you see people using clear wax to finish their painted pieces but, sometimes clear just won't cut it. When people vary from clear wax, you generally see the white or dark wax come out.
Colored waxes enable you to give highlights or lowlights to your project.
So here's the deal. You can buy ready made waxes in white or black or even dark brown but, it's harder to find it in other colors. Not to worry!
It is so simple to make your own colored waxes and it's a real money saver. If you buy each color individually, it really begins to add up and on top of the expense, you may not use the colored waxes as often as you use clear wax. For that reason, you may want to consider making your own.
Making colored wax is really quite simple! First you'll want to start with clear wax.
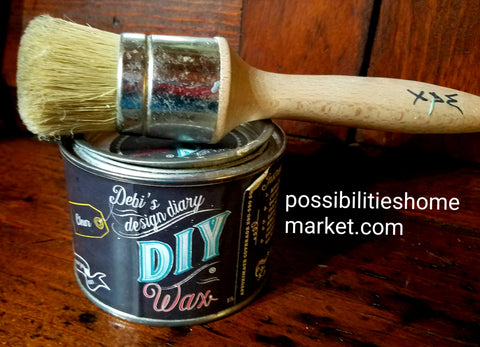
Spoon some of the DIY clear wax onto a small disposable plate or if you want to make a larger batch, consider spooning it into a little container that has a lid so that you can store any unused wax.
If you want to make white wax, you'll need your DIY paint in either Vintage Linen, Bead Board, or White Swan. If you want to purchase the ready made white wax, I recommend DIY wax.
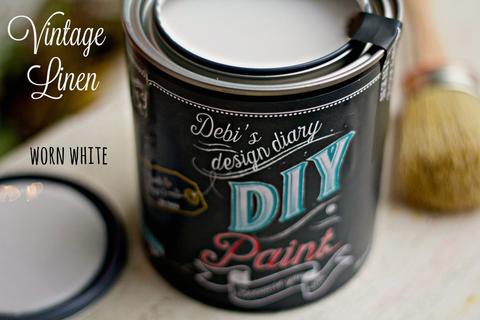
Mix roughly 3 parts wax to 1 part paint. The key is to get the shade of wax you want without changing the consistency of the wax. You will do the same thing if you want black wax except you would be using Debi's Design Diary DIY Paint in either Little Black Dress or Black Velvet.
Now, if you really want to try something cool, consider using a little more bold.
I decided to try making a mossy green wax using DIY Apothecary paint with some clear wax.

Again, I just spooned out the clear wax and began mixing it with the paint. Once I reached the desired color, it's ready to be applied to your project. I love to use my Paint Pixie Wax Brush but, you can also use a chip brush if you don't have a specific wax brush. If you are using a chip brush, I would recommend trimming down the brush to make it more effective. Shorten the whispy bristle until you reach the harder center of the chip brush. This will really help.
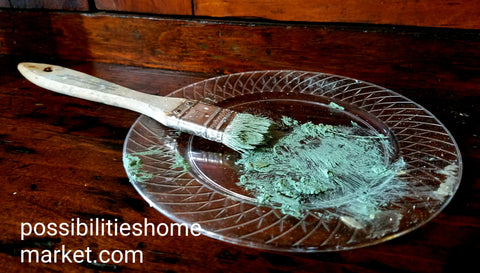
Before brushing on the colored wax, apply a coat of the clear wax. This will help you control the colored wax so that you will be able to apply as much or as little as you like. It'll make the wax much easier to work with. Once the clear wax has been applied, brush the colored wax over your project. Now, just take a soft cloth and buff your piece and remove any unwanted wax.
 The colored wax will lay beautifully in all the crevices on your project and will look wonderful!
I just love how my piece turned out!
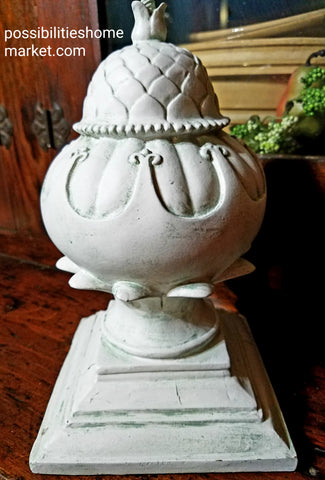
Want to see how I did it? Check out the video here.
Leave a comment